I taught myself how to sew and managed not to break the sewing machine. Or bleed. That’s right, folks, Martha Stewart in full effect. A chic camera bag in disguise as a functional camera bag has been on my wish list for a while. I wanted something discrete that I can travel with and also to take with me on engagement and portrait shoots. And so the hunt began… I went window shopping on the web for a fashionable and functional camera bag. I heavily considered various bags, including: Kelly Moore Posey Bags and Jo Tote bags.
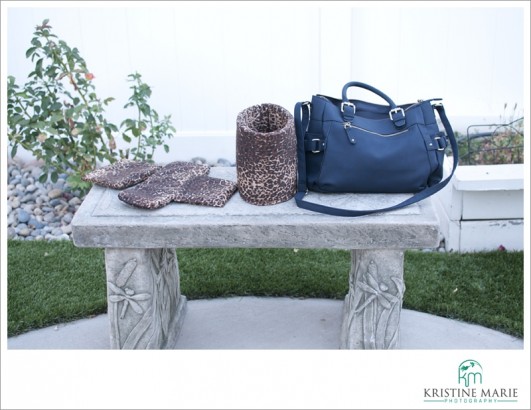
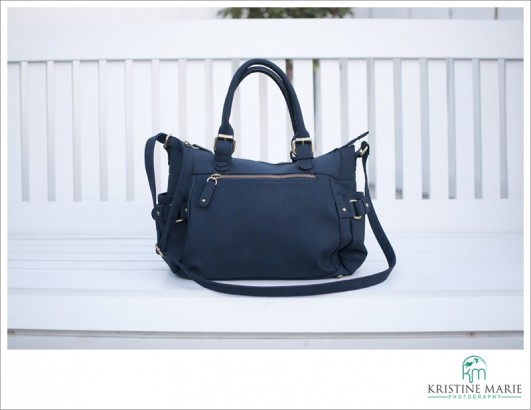
I wasn’t crazy in love with them, plus I would much rather invest in prime lenses. I decided to make my very own custom camera bag. One that reflects my brand and my style, and for a lot less money. Here’s a peek at the final product. In the two pictures below, my camera bag is holding one camera body, and three lenses, including my behemoth zoom lens (28mm-300mm) with room to spare.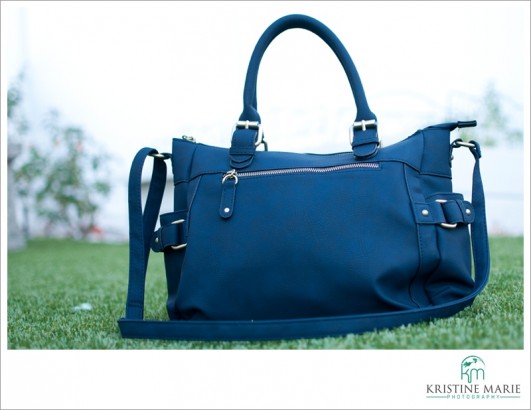
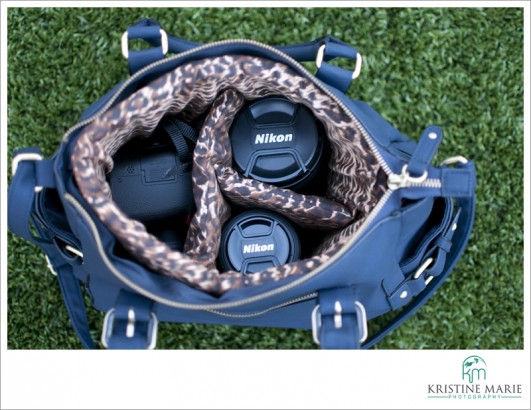
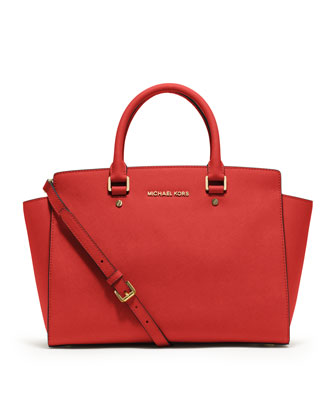
I love how it turned out! I like how the leather and the navy blue color is all business on the outside, but open up the zipper and you’ll see the leopard print lining that’s chic and fun. I chose a bag that was structured with a little bit of a slouch (because I don’t like to take myself too seriously), zipper closures to keep my camera gear secure, adjustable cross body straps and classic handles (because who doesn’t like to have options?), a roomy interior to fit at least one camera body, and three lenses. I also chose a bag that has lots of pockets both inside and out for my iPhone, keys, wallet, etc. I also like the price. This bag is just $34 at Target. Win! It kind of reminds me of the coveted and elusive Michael Kors Selma Top-Zip satchel (Photo from the Neiman Marcus website) because of it’s shape and dual straps.
I’ll show you how to make your very own custom camera bag that will protect your camera gear and keep you looking fashionable.
The list of supplies that you’ll need:
- A purse
- 1 yard of fabric (I got mine at Wal-Mart for just $3 and I had a lot left over–enough for a second purse)
- 1 yard of 1/2 inch foam (I bought this one at Joanne’s Fabric store for $5.99.)
- A ruler or measuring tape
- Scissors, needle and thread that matches the fabric (Don’t know how to sew? No problem. Use fabric glue, instead.)
- A sewing machine (optional)
- Velcro (optional)
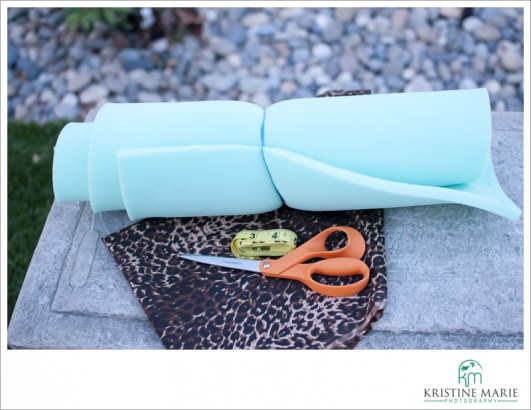
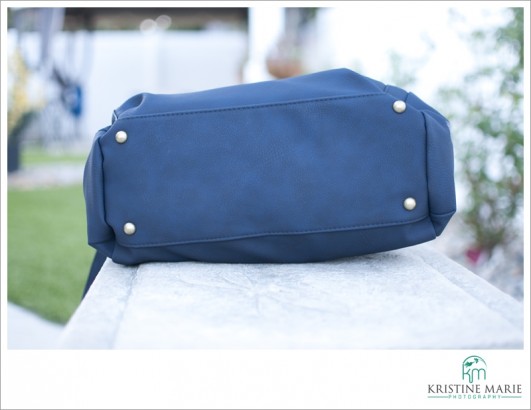
Step 1: Check the bottom of your purse and consider the shape. Mine has rounded corners. Measure the size of the length and width of the bottom of the purse. Then, measure and cut the foam to match the size of the bottom of the purse. Don’t worry if it is too big, you can always trim some of the sides for a better fit. Once you’re happy with how it fits, place the foam on top of the fabric. Using the foam as a guide, cut about 1/2 inch around it. Be sure to leave allowance for the seam. Cut a second piece of fabric in the same size.
Sew all the way around, but leave a little room to insert the foam in. Once the foam is in, sew up the rest to seal it. When this step is finished, you’ll have the bottom padding of your camera bag.
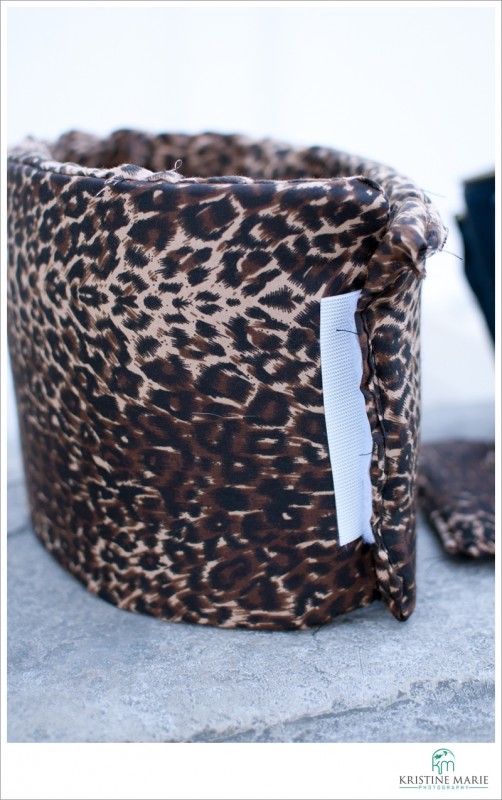
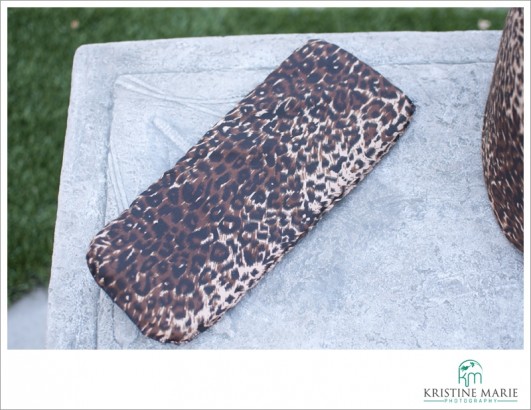 Step 2: Measure how deep your purse is. Mine is 8 inches tall and I decided that I want the foam to go up 7.5 inchess from the bottom of my purse to the top of my purse. Next measure the perimeter of your purse and deduct 3 inches from it. This is the measurement of the largest piece of foam that will go all the way around the interior of your camera bag. Place the foam on top of the fabric and again, leave 1/2 inch all the way around and cut the fabric. Cut a second piece of fabric in the same size and sew all the way around, again leaving a little bit of room to insert the foam into the fabric. This will become the walls of your camera bag. It should look something like the image below. I stuck industrial strength velcro to hold it together to make the circular shape, but that’s optional. You can certainly just sew it together instead.
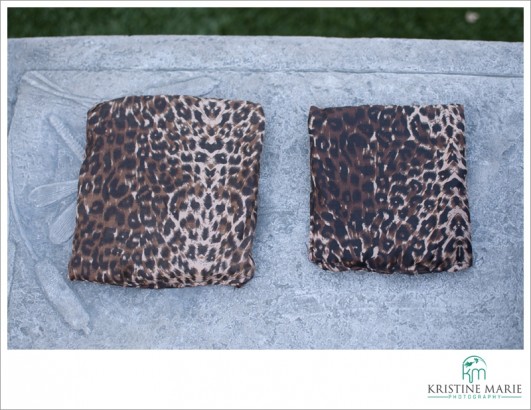
Step 3: Cut two pieces of foam for smaller compartments in the camera bag. Follow the same steps as in Steps 1 & 2. You will end up with something like the padded pieces below:
Step 3: Assemble the padding to fit your gear.
That’s it! You now have a custom padded camera bag in just 3 simple steps and for less than $10 (if you already have a purse in your closet that will fit your camera). The best part? You can transfer the padding to different purses for a different look. 🙂
I hope you found this DIY camera bag tutorial helpful. Let me know how your project turns out! Please feel free to stop by my Facebook page and become a fan to receive notifications on my latest blog posts.
XO,
Kristine
That’s adorable! Now you have room for everthing, including a snack! I was not only impressed with you sewing macine skills and creativity but with your math skills. 😉
I forgot to list the essential things to pack in my purse: a snack! I measured twice. Very funny! 😉