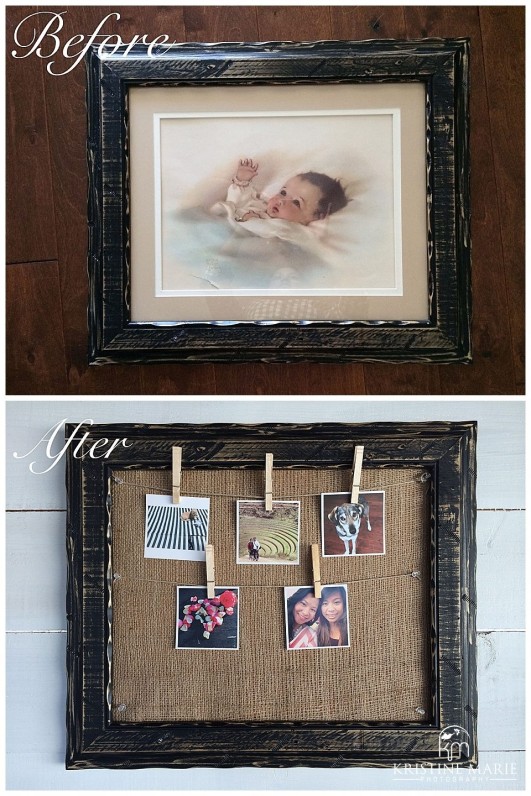
It’s amazing what you can find on a modern-day treasure hunt. I went to a local thrift store and found exactly what I needed to make a framed corkboard…all under $11! Read on to learn how to make a framed corkboard.
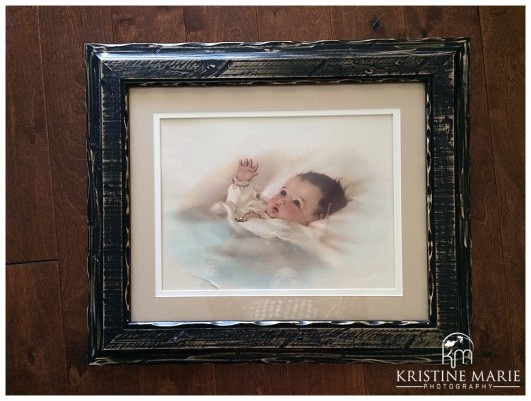
I browsed through old frames and paintings and found this rustic wooden frame. I looked over it carefully and saw that it was in great shape. It would make a great frame for a corkboard. I love that I didn’t even need to repaint it because it fits the rustic farmhouse look that I’m going for. The frame had a painting of a little baby that I will remove.
Helpful tip: When thrifting, look past distracting things like a painting that you don’t care for. Instead, look at the overall shape and “potential” of the item. Often, items just need a new coat of paint or a good polish. Think creatively!
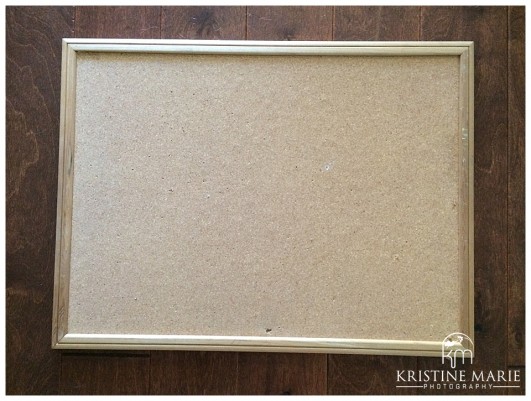
I also found a corkboard that is slightly larger than the frame…perfect! I removed the wooden frame around it using a small hammer (I use this to hang paintings on the wall) and a flathead screwdriver. I wedged the flathead screwdriver in between the corners and tapped unti the frame easily came apart. I will replace it with a beautiful, custom frame that fits the rustic farmhouse decor that I’m going for.
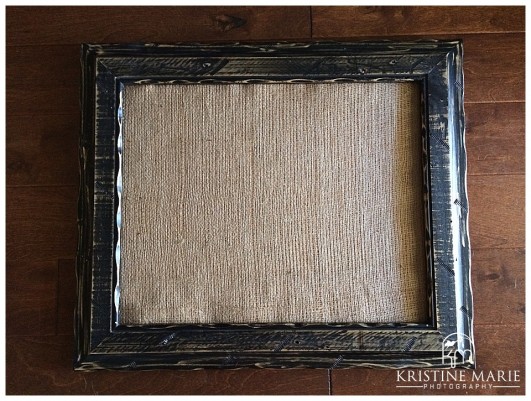
Next, I took some burlap that I already have and wrapped the corkboard. You can purchase burlap at Home Depot.
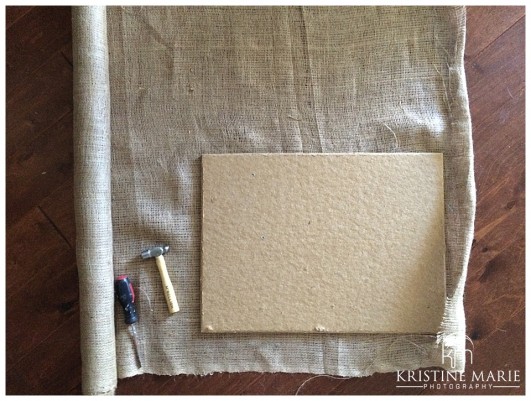
Then, cut the burlap and pull it tight across the front of the corkboard. Secure it with a nailgun, or tape it, like I did. Don’t worry if it doesn’t look very pretty. No one will see the back of the corkboard. I would have stapled the burlap onto the corkboard, but the painter’s tape was easier to reach.

The next step is to mount the corkboard onto the back of the wooden frame. I used four mirror holders and screwed them on near each corner of the frame.

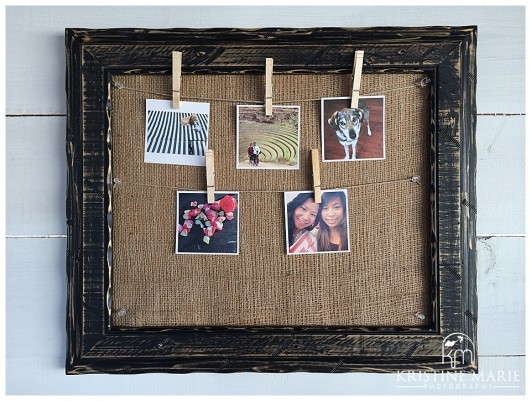
Voila! The DIY framed corkboard is all done! What do you think? Much better to look at than the cheap looking store-bought ones, right?
There are so many uses for a framed corkboard. You can use a framed corkboard to pin important notes in the office, to hang as a message board for the home, or as a creative mood board for your next project.
I am using it as a way to display some pictures. I printed a few of my favorite photos on Instagram. My custom framed corkboard is now hanging in our lounge in the backyard. I didn’t want to poke holes through the pictures, so I used clothespins to hang it onto some twine. I love that I can easily change the photos.
I hope you enjoyed learning how to make a framed corkboard. Be crafty and have fun! How would you use a framed corkboard?Leave a comment below.
xoxo,

brilliant! I have so many frames lying around and one wall that is in dire need of a board – perfect! Thank you!
I am so doing this for every room in my new house!! LOVE your creativity!
Ooooo… great idea. Love this!
Oh how I love thrift stores!! This is super cute, I love it!!